
Search for the Customer
Navigate to Bob2 → Customers → Customer List
This will take you to the Customer Search, where you can find the Customer you are wanting to place an Order for using the filters at the top of the screen and then press the “Place Order” button adjacent to the Customers row (Note: If the customer does not want to sign up for an account with us then please click on the “Add New Guest Customer” button).
 After pressing “Place Order” you will be in the Admin version of the website product search screen impersonating the Customer…
Alternatively you can press “Edit” to view the Customer. Once you are within the “Edit Customer Details” screen, go to the “Place Order” tab and press the “Place Order” button next to the store (this should be Bob2 Admin store if fulfilling a Customer Order. If you are looking to help a Customer find a Product then you can impersonate a session on the Store they are on).
NOTE: You will notice at the top of the screen there will be a banner stating “Impersonating Customer x”. Please ensure this is displayed before continuing)
Search for the Product
Once impersonating a Customer you will be taken to the Advanced Product Search where you can then find the Product for the Customer. Once found press the “View” button to display the related Product screen in a popup window.

From the Product popup window you will notice lots of detail and information (some of which the Customer cannot see) and there are several different options/actions you can perform…

- Amend the Price (Net or Gross) – Please note, the Gross Price is what will be sent to the cart.
- Discount – Alternatively to actually amending the price you can enter a Discount % (E.g. entering 20 within the box means there will be a 20% discount applied)
- Add to Basket – Adds the Product to the cart with the defined Gross Price and Qty. Once pressed you will see a notification bar at the top in green to say it was successful.
- Product Details – Pressing this will take you to see more details for the Product in a new window.
- Reserve Stock – Will reserve the Stock Qty defined.
- Availability – You can see the stock qty and reserved qty
NOTE: You can also find more information related to the Product by clicking the “Product Details” button.
Basket
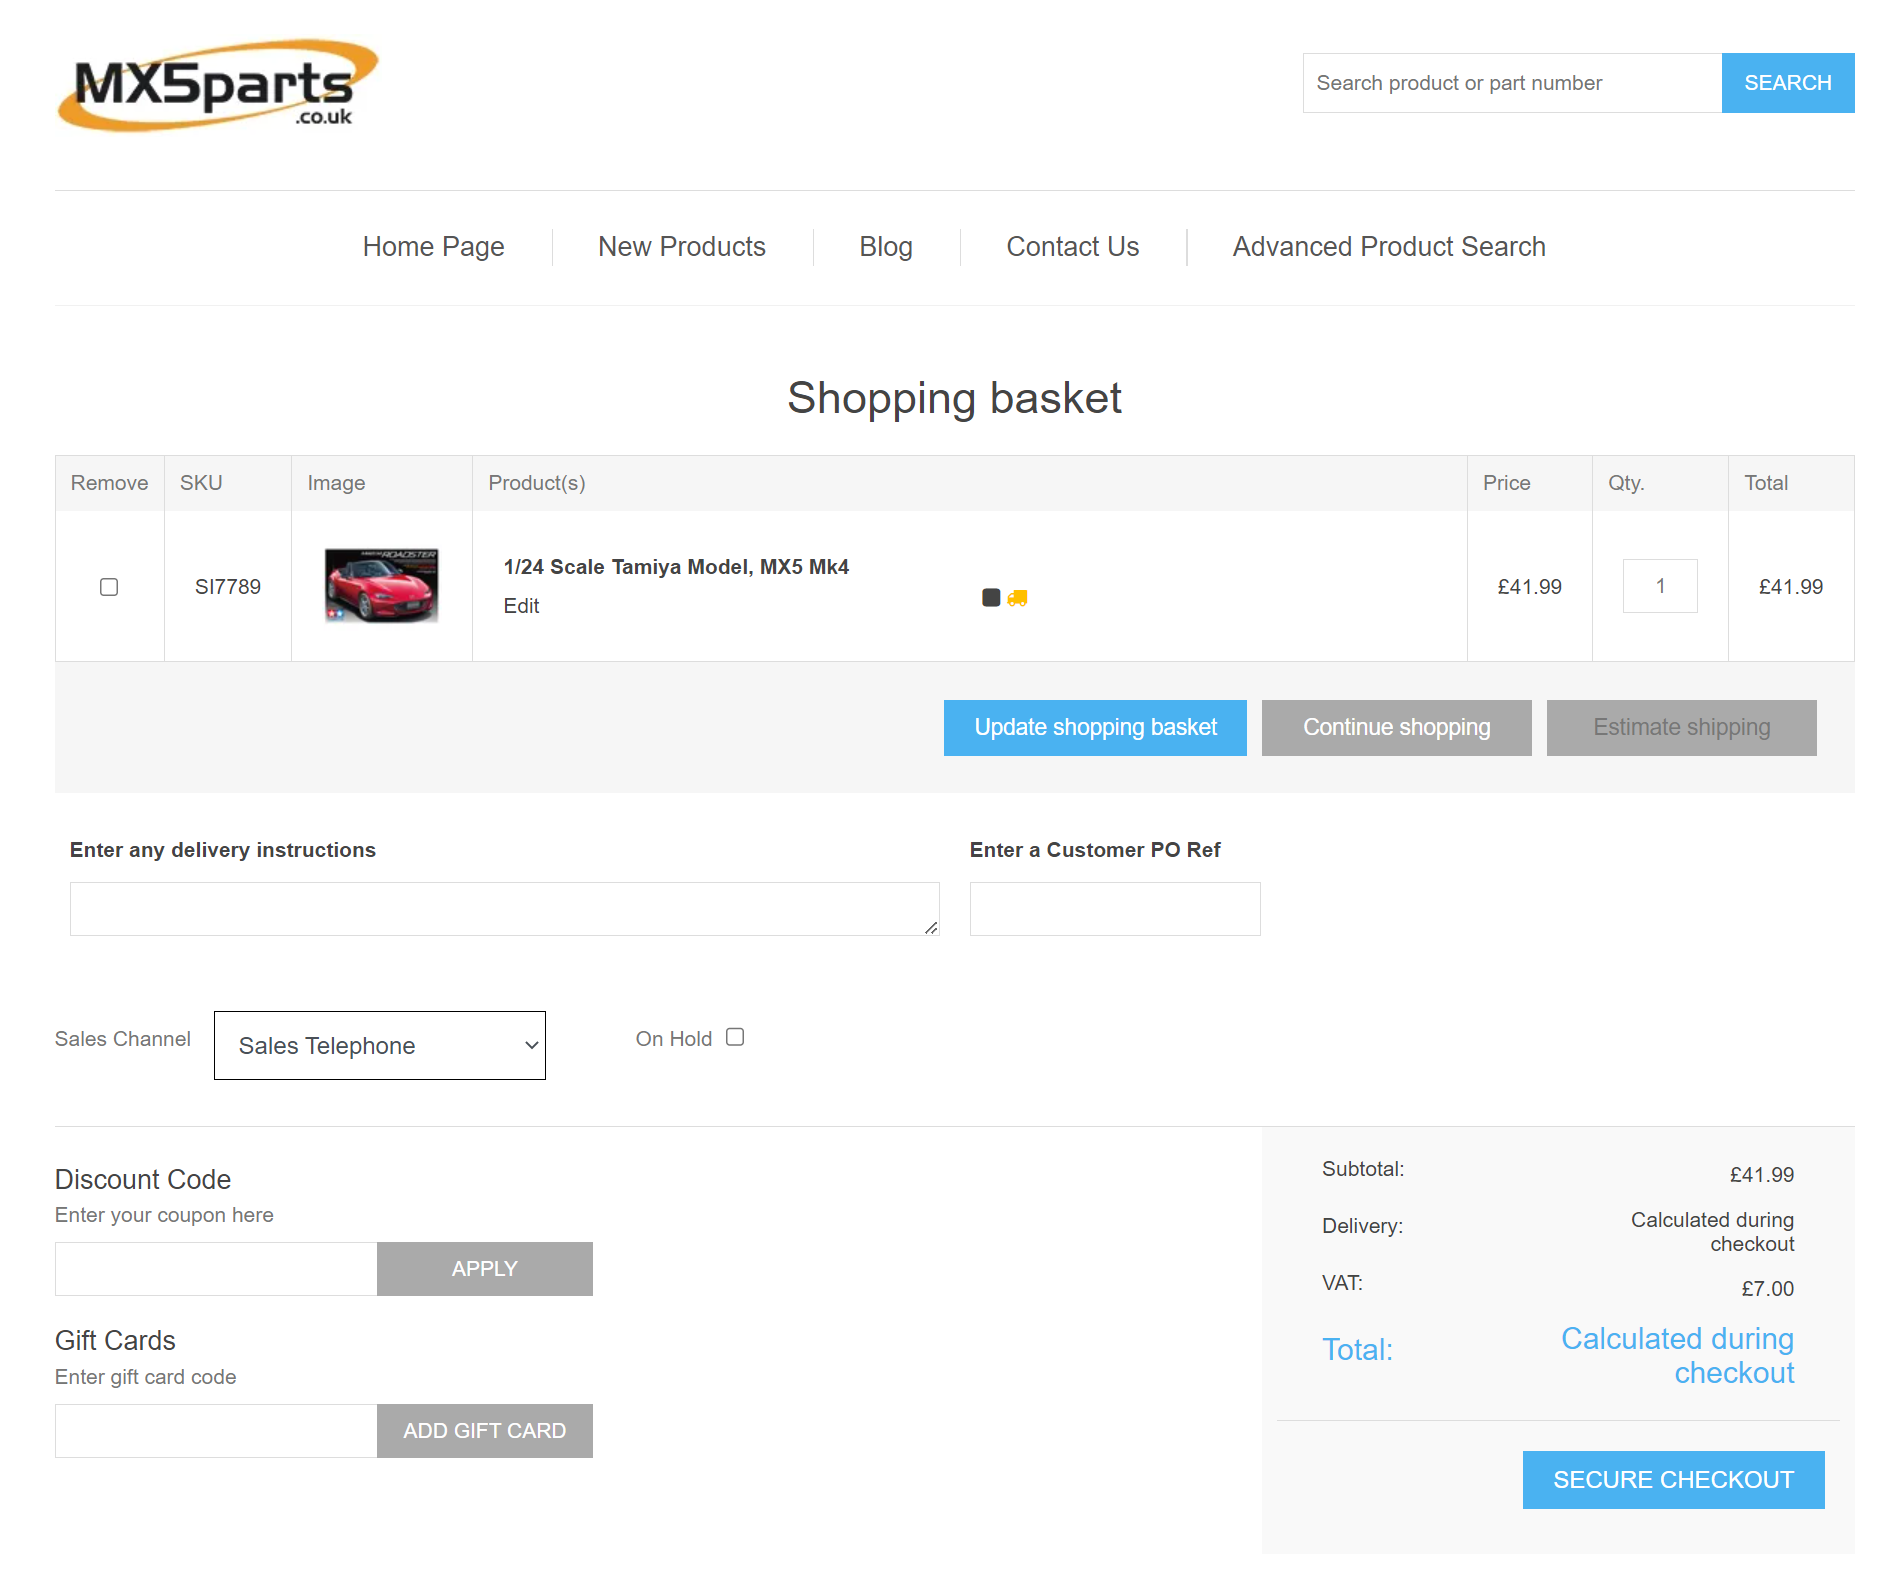
After adding all the Products on behalf of the Customer. You can go to basket by clicking “Shopping Basket” in the top-right corner. From the Shopping Basket you must define the Sales Channel…
- Sales Telephone – Standard Telephone Order
- Workshop – This is a Workshop Sale, once selected you will notice a calendar and an on-hold checkbox.
- Sales Customer Present – This is a Shop Sale.
- Show – This is a Show Sale, once selected you will notice a calendar and an on-hold checkbox.
- Website – Standard website order.
Enter any Delivery Insturctions or Customer PO Ref. You can also add any Discount Codes or Gift Cards here which the Customer may want to utilise. Once done, press the “Secure Checkout” button.
From the Checkout screen. You can ask the Customer for their Shipping and Billing Address information. Followed by their preferred Payment Method and details (For PDQ, Cheque and On Account a Transaction Reference is optional for the Order to go through the system without falling into Referrals). Finally, “Confirm” the Order.

View the Order
After completing checkout, ensure you click at the top of the screen the button in the top banner labelled “Finish Impersonated Session”…

This will return you to the Customers screen for which you had began impersonating the session from. From here go to the “Orders” tab and you will notice you have just fulfilled on behalf of the Customer.
