
Navigate to BoB2 → Products → Stock Take
This will display the Stock Take view, showing a list of the New, Active and Finished Stock Takes in the System. From here, you can
- Search for a Stock Take via the filters at the top and then pressing “Search”.
- You can “Edit” a Stock Take by clicking the button adjacent to the Stock Take row. (This will display the Stock Take Edit screen or view dependent on whether the Stock Take has been completed or not.)
- You can also create a New Stock Take by pressing “Add New” in the top-right corner.

Stock Take Creation Screen
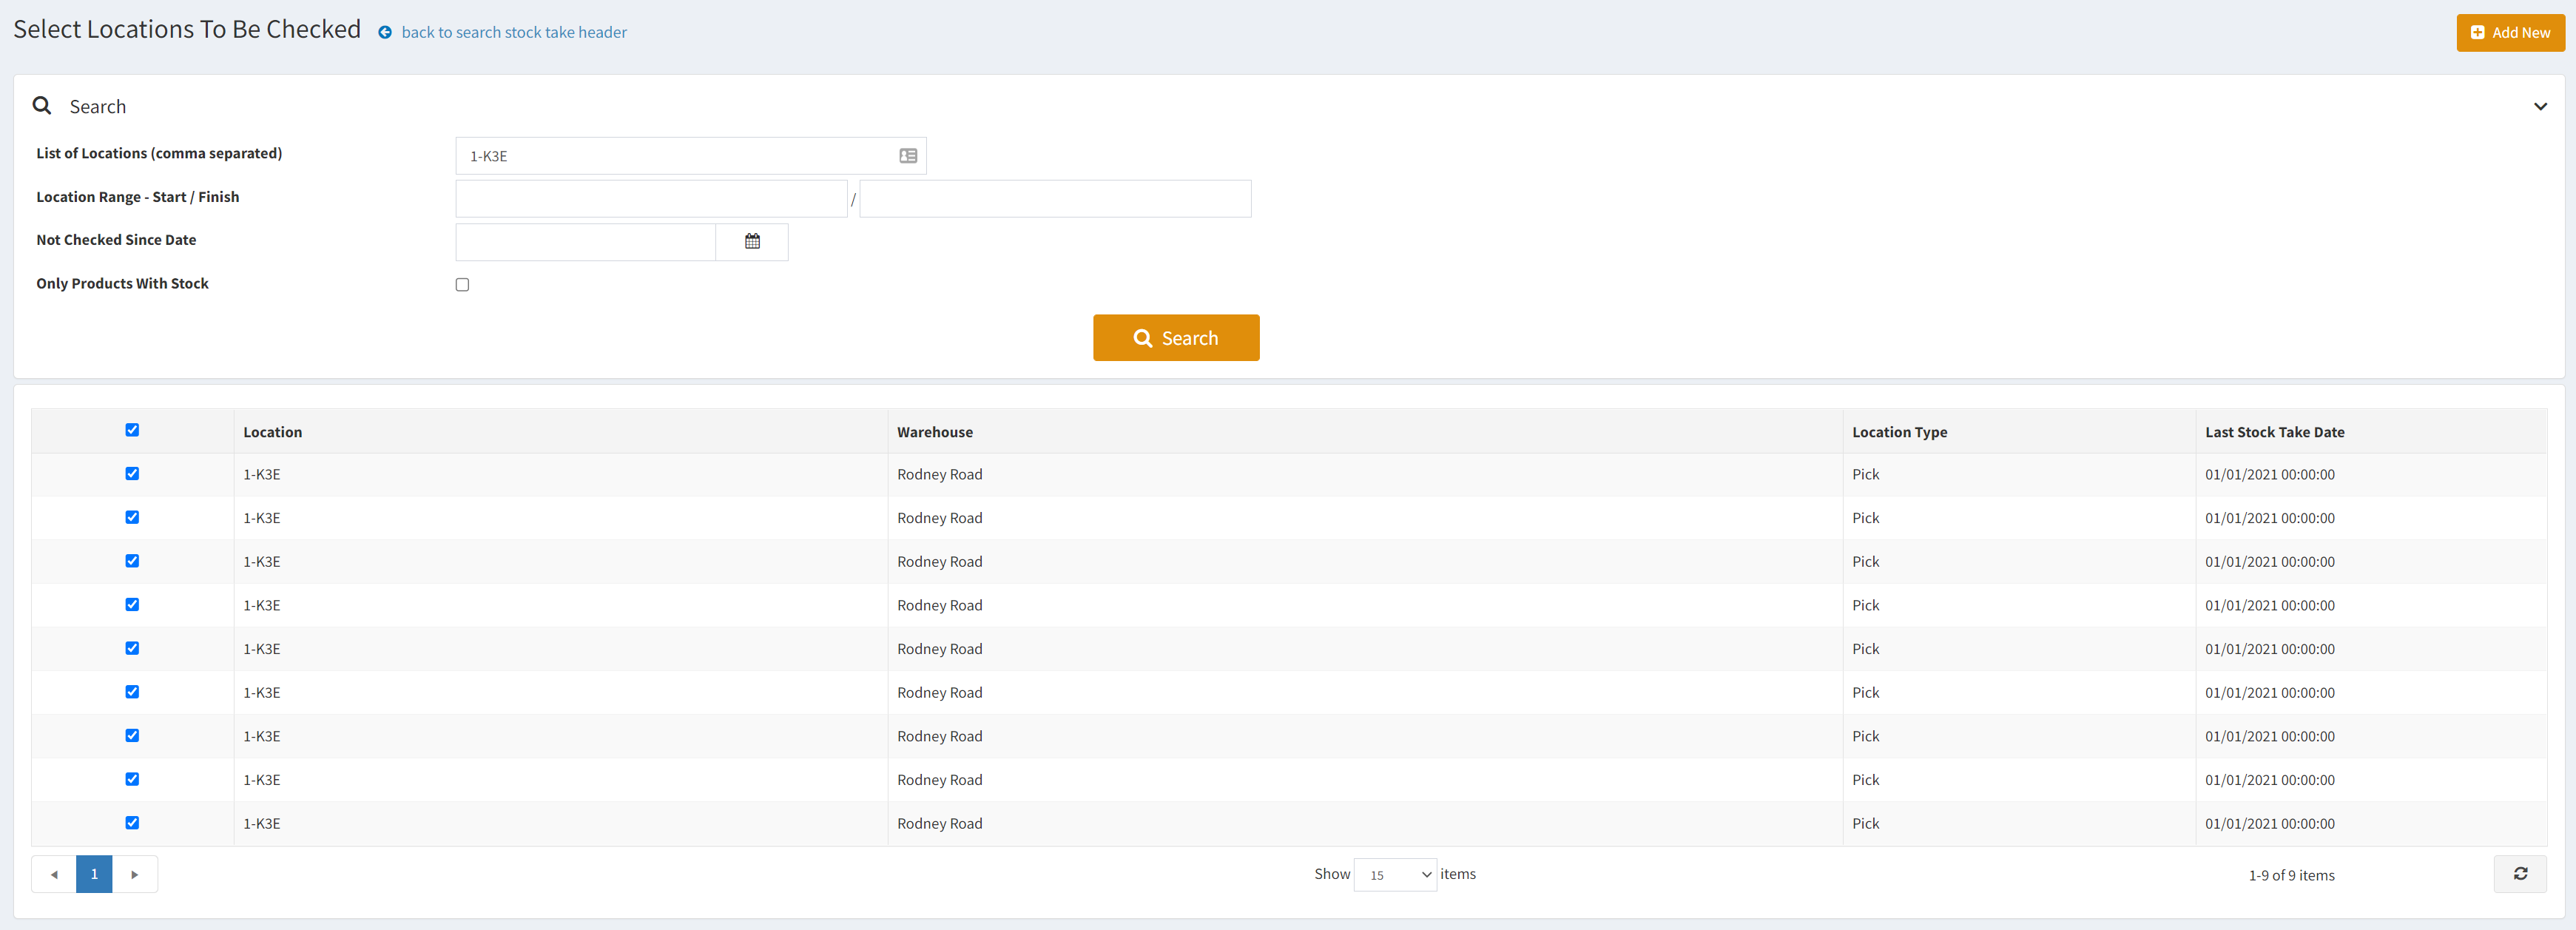
Pressing “Add New” will display the Add New Stock Take screen where you can select the locations you want to perform a Stock Take on. You can first of all search for the Locations you wish to perform a Stock Take on. The different ways you can search are…
- List of Location – Where you can define individual Locations in a comma separated list. E.g. “1K3E, 4B2A”. If you want to search for all then you can use the first part of a location. E.g. “1-C”. If you want the entire warehouse then you can simply enter “1-“
After pressing Search once defining the Locations. You can then either individually select the Location rows or select all in the grid by clicking the check box at the top left of the grid (this will select all). Once selected you can press “Add New” to begin the Stock Take.
Stock Take Maintenance Screen
Buttons/Details
From the Stock Take maintenance screen we can see the Reference, Status, Dates, Products to be counted (or counted dependant on whether it has been finished or not.)
there are a few options you can do here.
- Print – This will Print a PDF of the Stock Take for you to take around with you while performing the Stock Take and manually write down the “Counted Qty” for you to enter later.
- Export – This will export to Excel the entire list shown below.
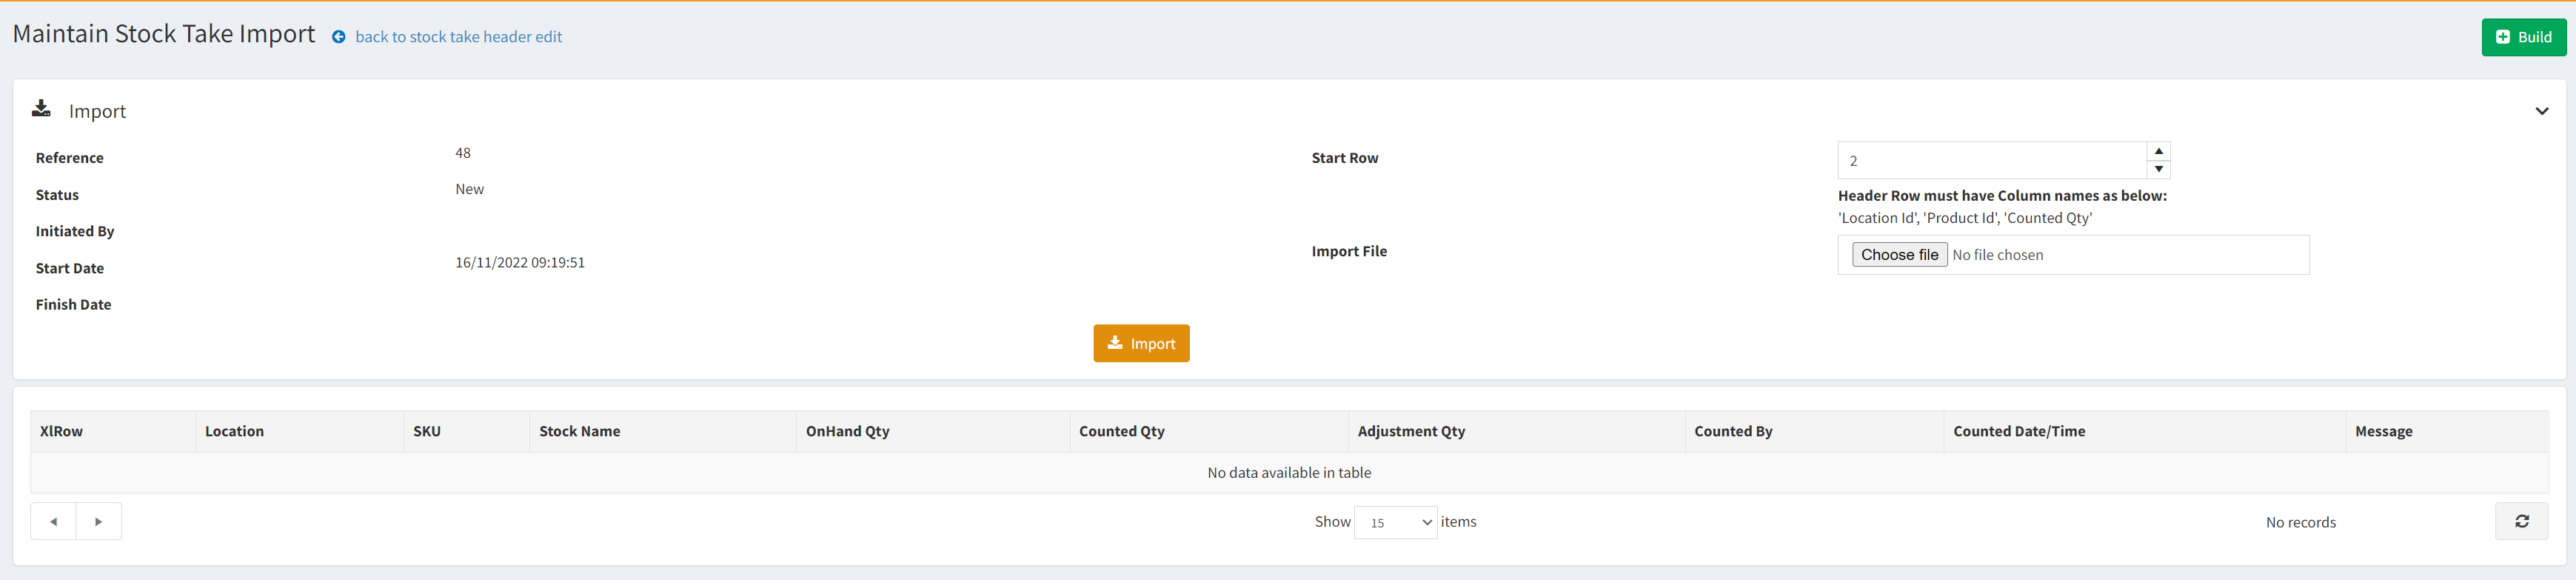
- Import – Display the import wizard which can be used to import the XLS file you previously exported with the amended “Counted Qty” if you choose to do your Stock Takes in this way.
- Finish – When you have completed the Stock Take then you can go ahead and press “Finish” in the top-right corner which will set the Products Qtys correctly to match.
 Process
To begin a Stock Take you can Print the Stock Take template by pressing the Print button (detailed more below), take this around with you while performing the Stock Take and write down the Counted Qty as you go. Once you are back you can enter the details in 2 different ways…
- XLS Import/Export – You can Export the Stock Take grid below. Then from the downloaded XLS file you can amend the Counted Qty column and Save the file. Then press on the Import button to open up the Import wizard and import the saved XLS file.
- Grid Counting – If you click into the Counted Qty column for each row on the Stock Take grid you can amend the value. If you simply the type the number you counted and then press the “TAB” key you will go to the next rows Counted Qty entry field where you can quickly enter the values one by one. See the video below…
Finishing the Stock Take
Once you have entered all of the correct “Counted Qty” values for the Stock Take you can press the “Finish” button in the top-right corner. This will Save and set the correct quantities for the Products within the Stock Take and display the Stock Take List.